The third test was to completely test the ATU-100 functionality and that the all buttons control works remotely via Bluetooth. I tried to turn ON/OFF the tuner and then tested the functionality of the TUNE/RESET, AUTO and BYPASS buttons with the corresponding response on the OLED display. The video below shows that the whole functionality works correctly. All the responses were visible on the OLED display:
RESET -> short prest of the RESET/TUNE button
TUNE -> long press of the RESET/TUNE button
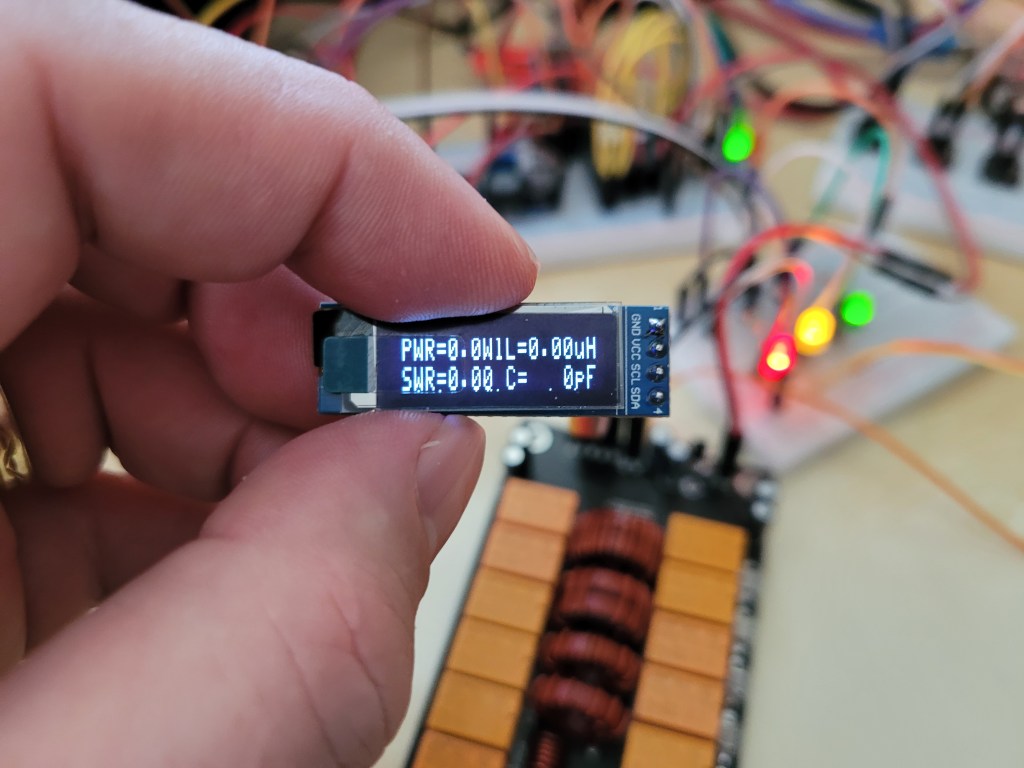
AUTO -> press of the AUTO button (indicated by the „.“ between the PWR and L)
BYPASS -> press of the BYPASS button (indicated by „_“ between the PWR and L)
After the buttons functionality test I tried to enter the both test modes described below.
FAST TEST MODE
To enter the Fast Test Mode we press at the same time TUNE/RESET + AUTO + BYPASS buttons and then we apply the POWER button to turn the ATU-100 ON.
The Fast Test Mode switches the all relays to the ON state and connects all the inductances and capacitances at once.
In my case I could see the current consumption increased from ca 120 mA to 330 mA (the consumptions includes the Arduino Nano, HC-05, LEDs and tuner together).


THE TEST MODE
To enter the Test Mode we press at the same time AUTO + BYPASS buttons and then we apply the POWER button to turn the ATU-100 ON.
At the Test Mode we can check the inductances and capacitances individually by pressing the AUTO button to decrease the value and BYPASS button to increase the value. By the long press of the TUNE/RESET button we can switch between the inductances test and capacitances test.