Display backlit issue fix
I bought an older TRX KENWOOD TM-V7E via eBay. The rig was in a very good shape but with the tipical issue of this device. The display was almost unreadable. It was very difficult to make any setup and read the display information especialy the description of function buttons at the botton of the front panel.
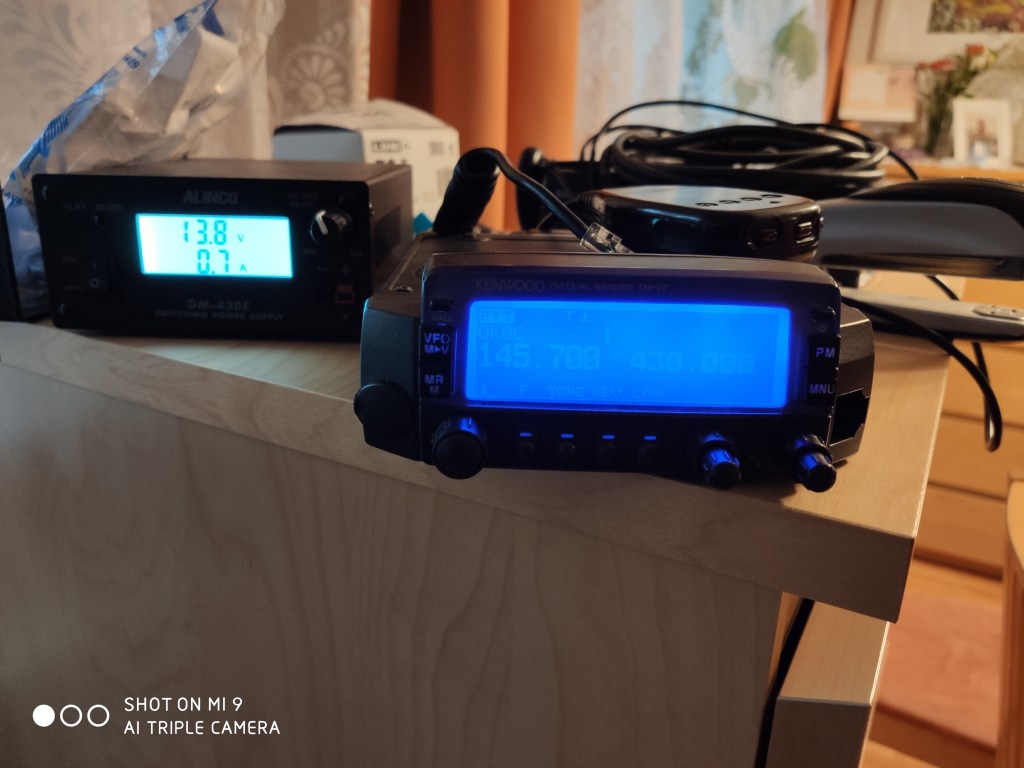
Kenwood TM-V7E display before the display backlit fix (white letters) 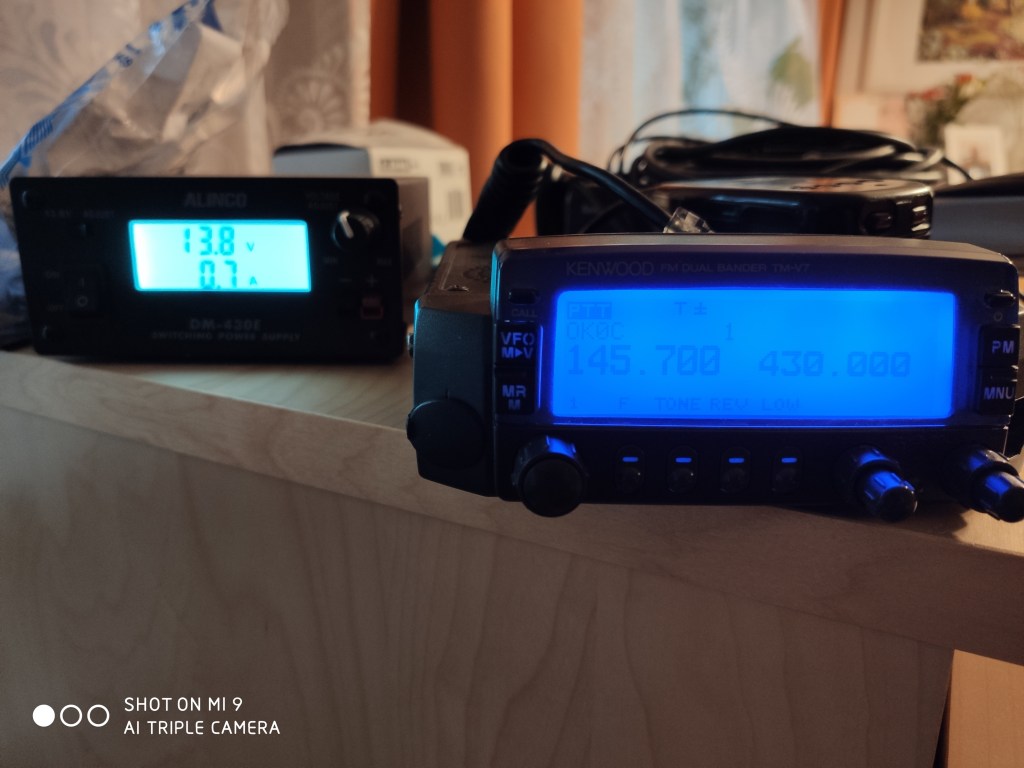
Kenwood TM-V7E display before the display backlit fix (white letters)
Fortunately the display itself was in very good condition with no missing rows or pixels.
I found a wabe page of Benjamin DL8NBD with a description how to fix the contrast and blurry display by replacing the original blue backlit LEDs with 4 new Nichia NSPW310DS Sel. b2V/W LED wired White Circular 3 mm 6800 mcd 50 ° 20 mA 3.2 V.
I was note sure if I would be able to do this fix by myself but I found it very easy.
Please, note when you use the recommended Nichia NSPW310DS Sel. b2V/W LED wired White Circular 3 mm 6800 mcd 50 ° 20 mA 3.2 V you will get just pusitive white onyl leters or negative. The black colored letters are no more available.
Pls, see the step by steps pictures below:
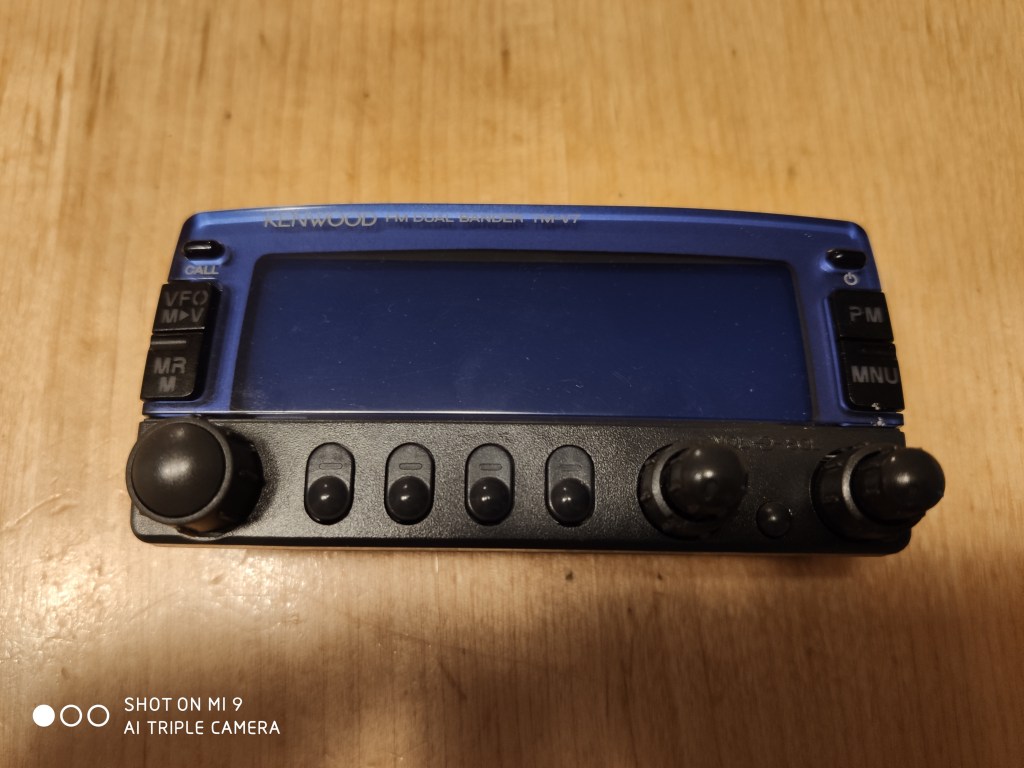
1. Remove the fromnt panel from the rig. 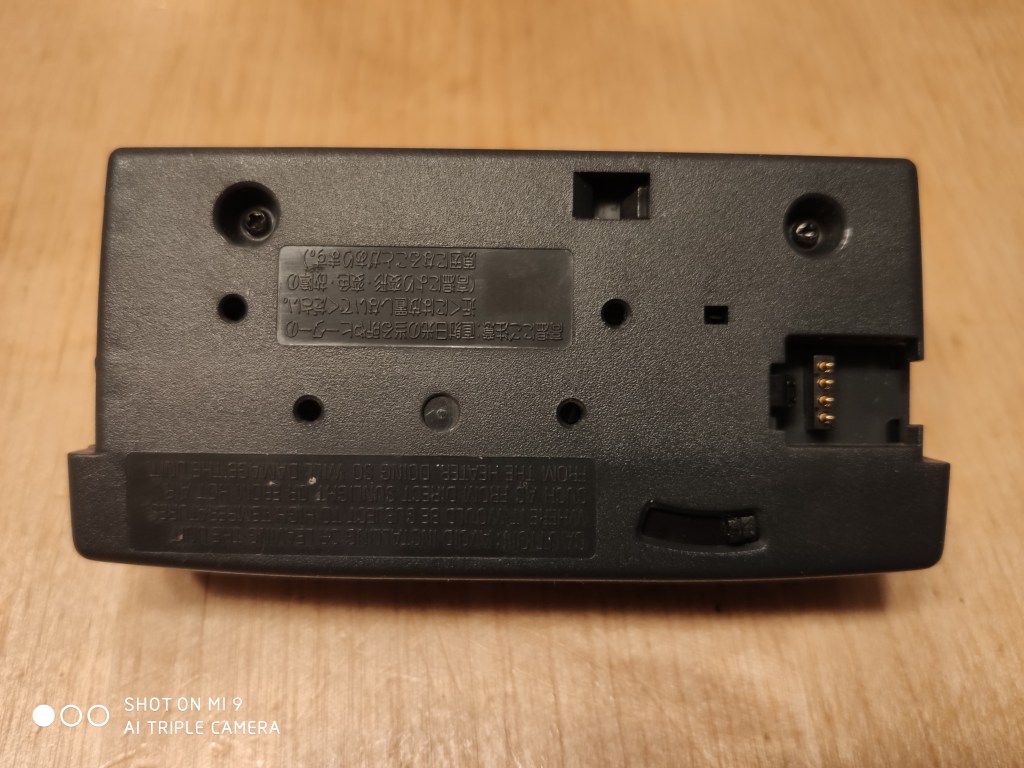
2. Unscrew the two screws at the back side of the front panel with philips screwdriwer. 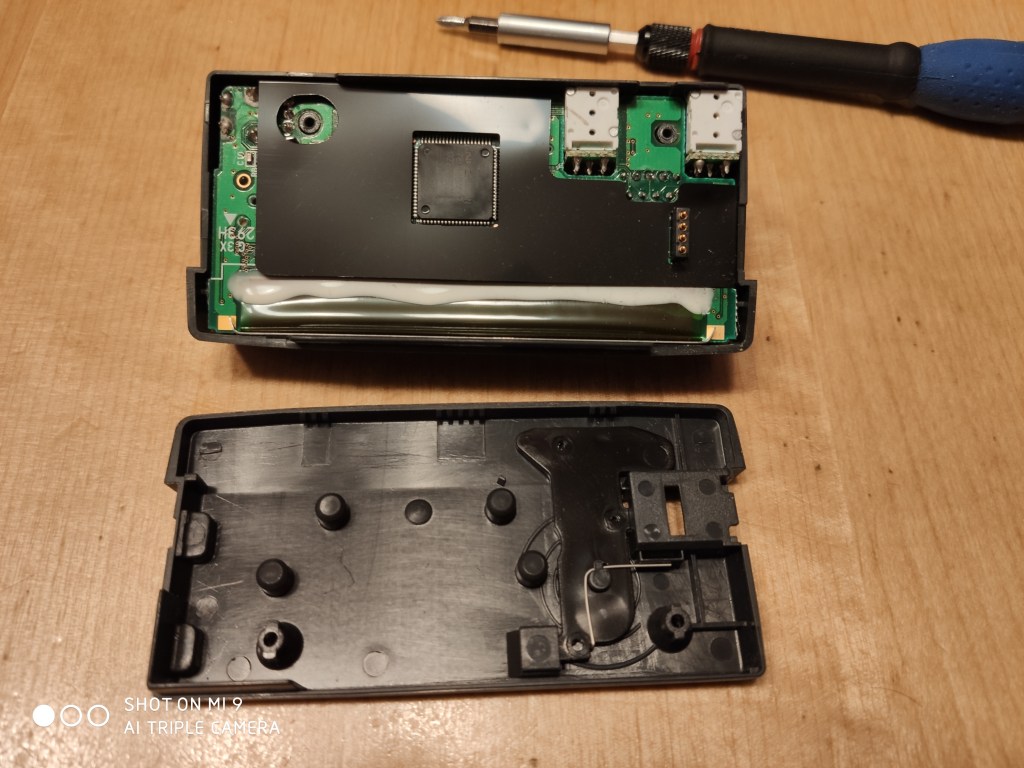
3. Carefully remove the black foil PCB cover. 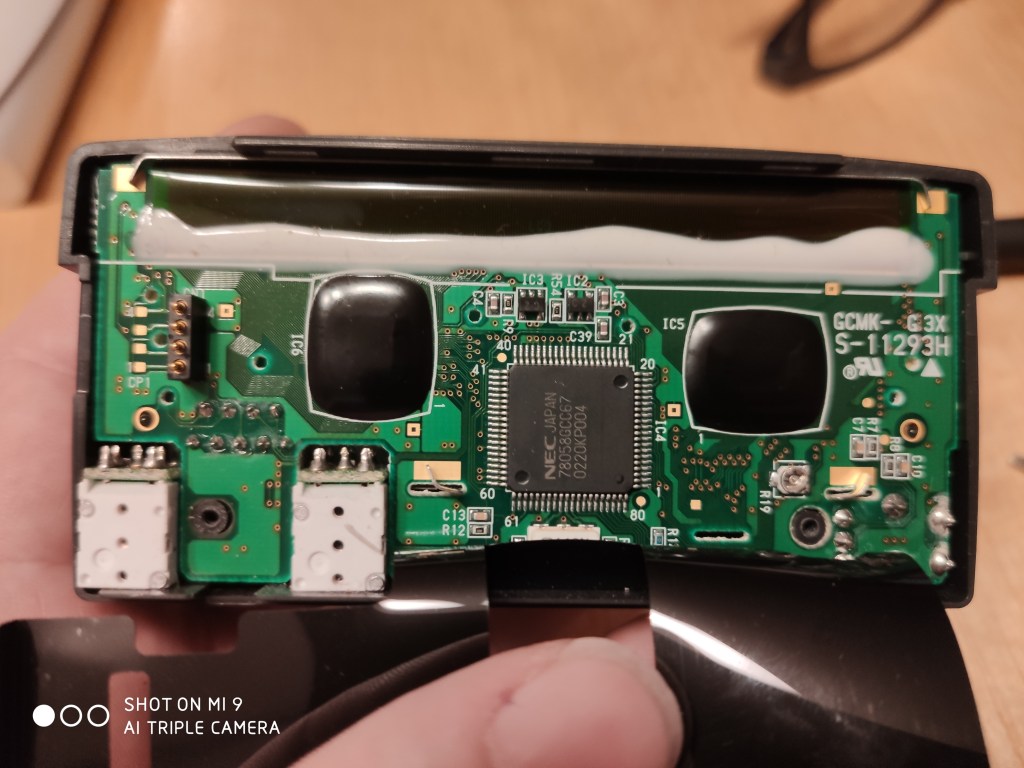
4. Use a tweezers or small pliers to straighten the two metal PCB holders in the middle part of the PCB as well ass on the long holder on the upper side of PCB. 
5. Remove the knobs from the controls on the front side. 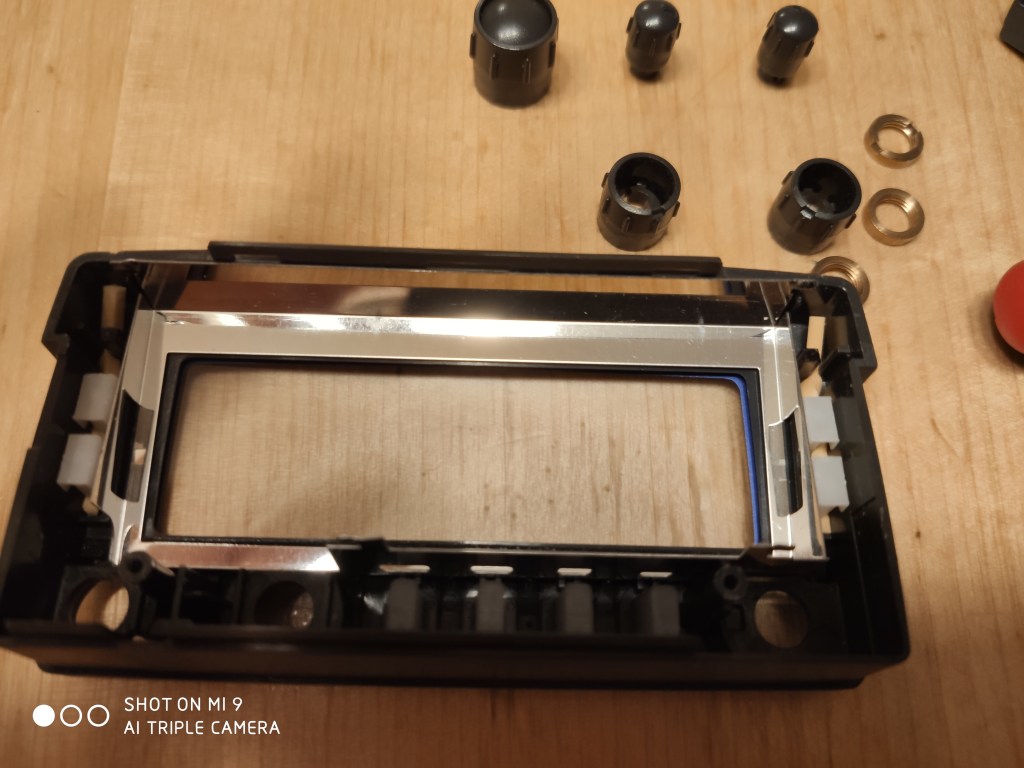
6. Then loose the 3 brass nuts fixing the controls to the front panel cover. I used regular screwdriwer. 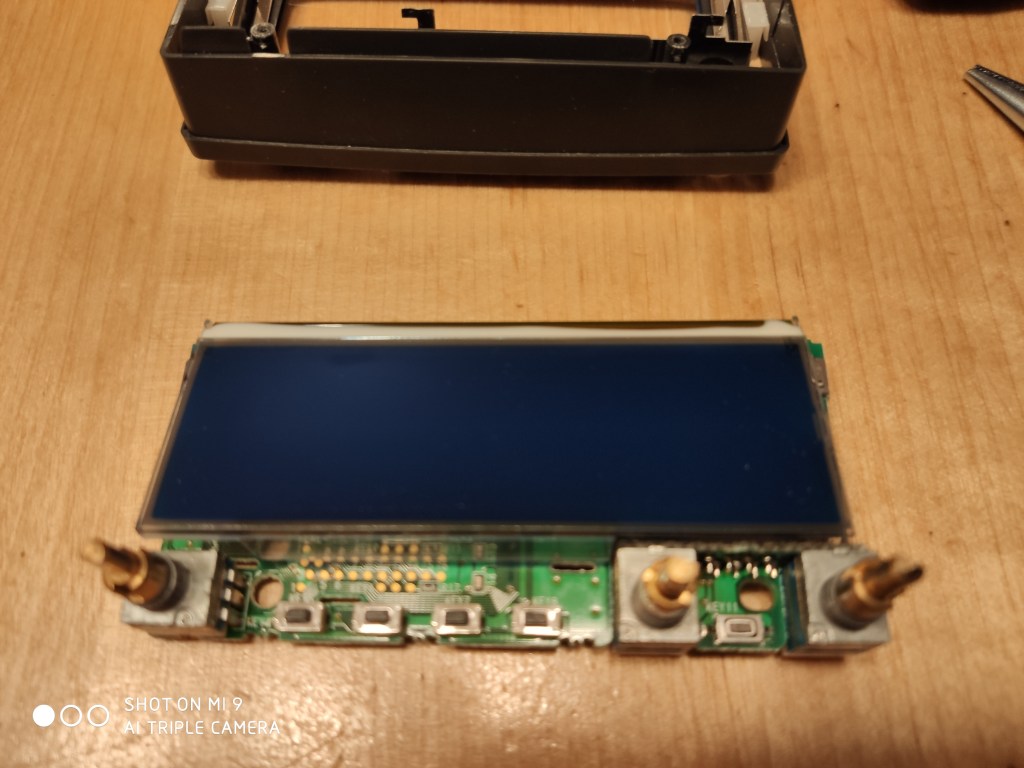
7. Carefuly remove the PCB from the front panel chassis. 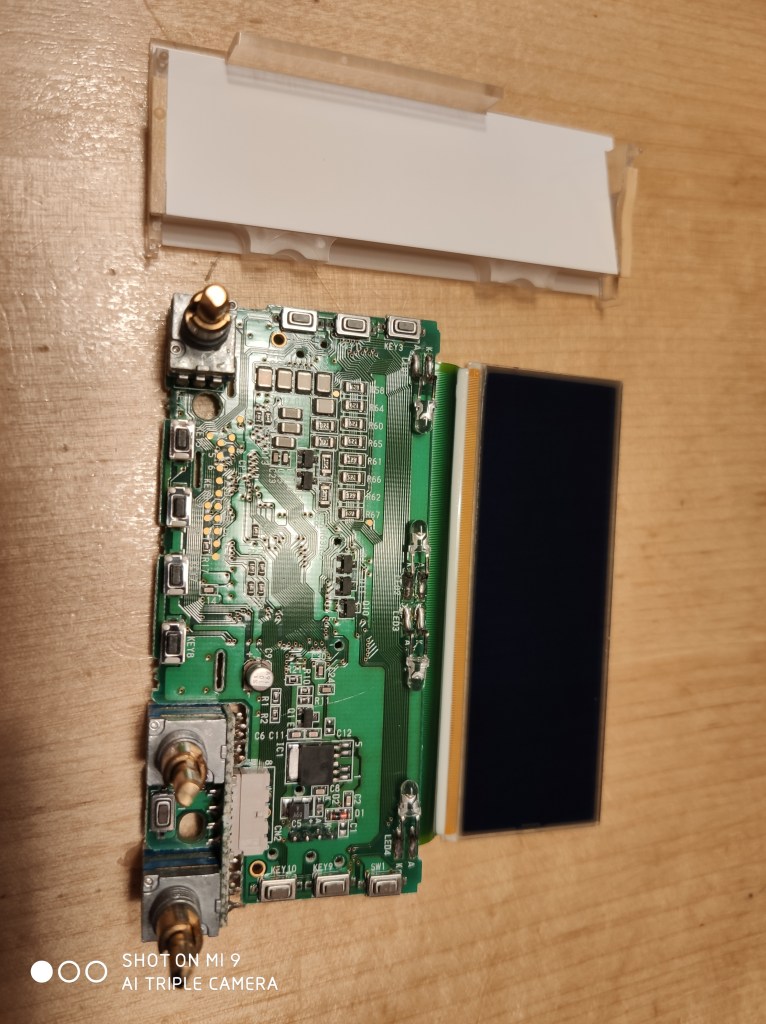
8. Carefully lift the LCD and the plastic LCD holder. Be very carefull when manipulate with the LCD to avoid any demage of the flat cable connecting the LCD and PCB. THey cabel is very fragile. 
9. The access to the LEDs is free now and you can simply replace the oroginal LEDs with new ones. 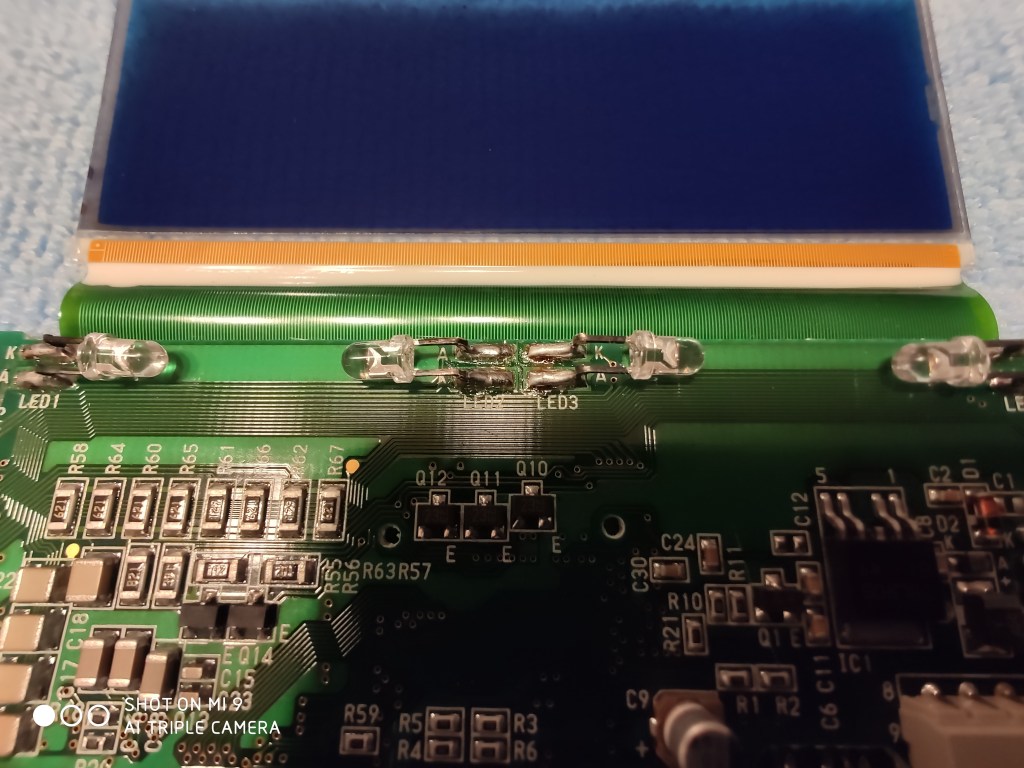
10. Carefully unsolder the 4 LEDs and prepare new ones. Note you must keep the LED contacts lenght absolutely the same as the old LEDs contacts otherwise you could not place back the plastic LCD holder. 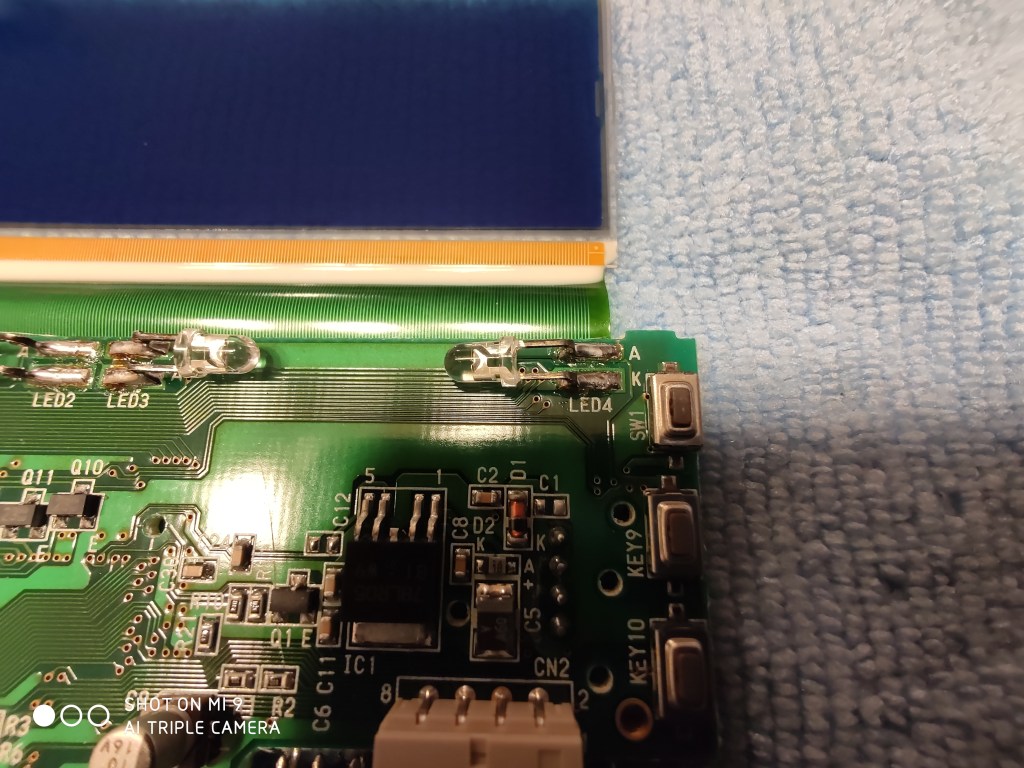
10. Solder carefully new LEDs and assamble the front panel unit using the reverse procedure.
The whole procedure tool me at about 1.5 hour including the time I spent with finding the ways how to disassemble unit. The final result is visible here.

Kenwood TM-V7E display after backlit fix 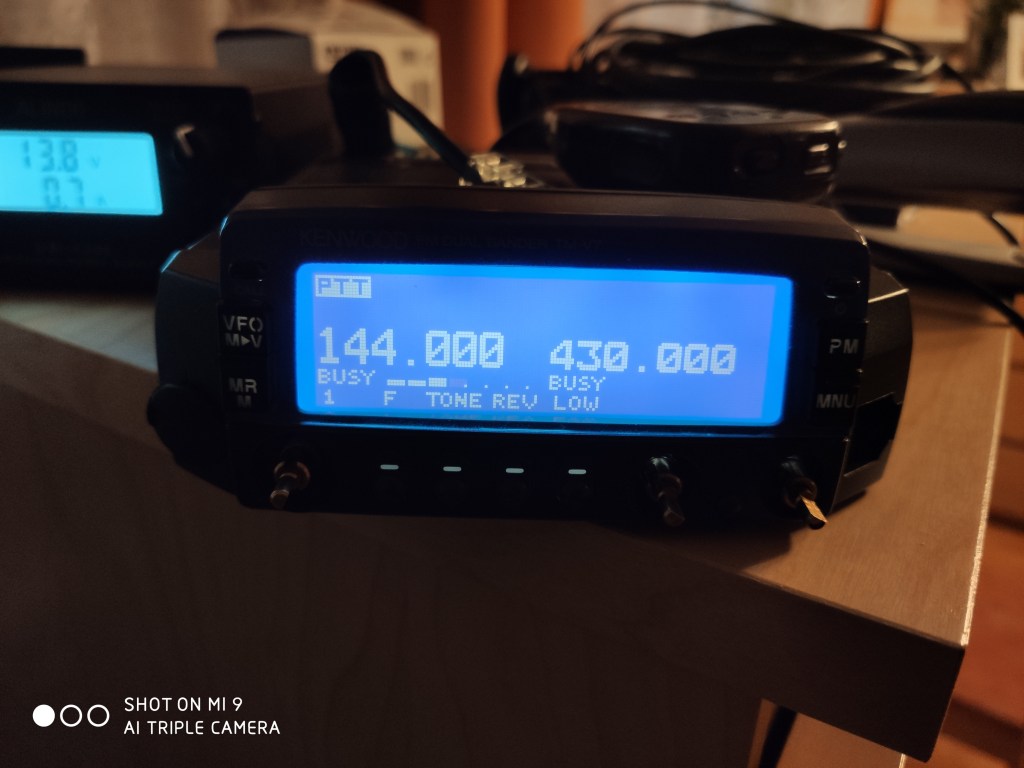
Kenwood TM-V7E display after backlit fix
I hope the rig will serve several more years now. 73!
